
What is OctoberCMS?

OctoberCMS is a free, open-source content management system (CMS) based on the Laravel PHP framework. It allows you to easily manage content and build powerful websites with a simple and user-friendly interface. It provides features such as theming, multi-language support, and extensibility through plugins, making it ideal for developers who need flexibility and scalability for building modern web applications.
Softaculous helps you install web applications very easily. Please, follow the steps below to install OctoberCMS:
Step 1. Log in to your cPanel account.
Step 2. In the Software section, click on Softaculous Apps Installer.
Step 3. cPanel will redirect you to the Softaculous interface.
Step 4. On the left side, locate the Portal/CMS category. Click on it and then select OctoberCMS.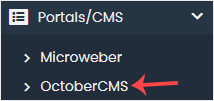
Step 5. Click on Install.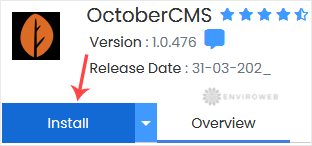
Step 6. Fill in the necessary fields under the Software Setup section:
- Choose Installation URL: Choose the appropriate protocol/domain. If you want to install this in a subdirectory (e.g., example.com/october), enter the directory name. Leave it blank to install in the root directory (e.g., example.com).
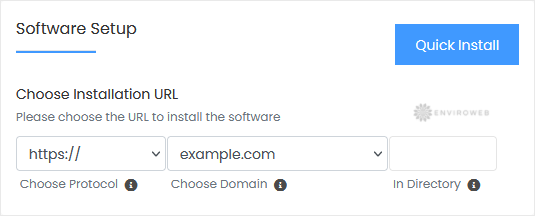
Step 7. Under the Site Settings field, enter the following information:
- Admin Folder: You can leave this as it is.
Step 8. Under the Admin Account field, enter the following information:
- Admin Username: Your new OctoberCMS username (for security reasons, avoid using "administrator" or "admin").
- Admin Password: Use a strong password.
- First Name: Enter your first name.
- Last Name: Enter your last name.
- Admin Email: Your email address. This is helpful for password resets and notifications.
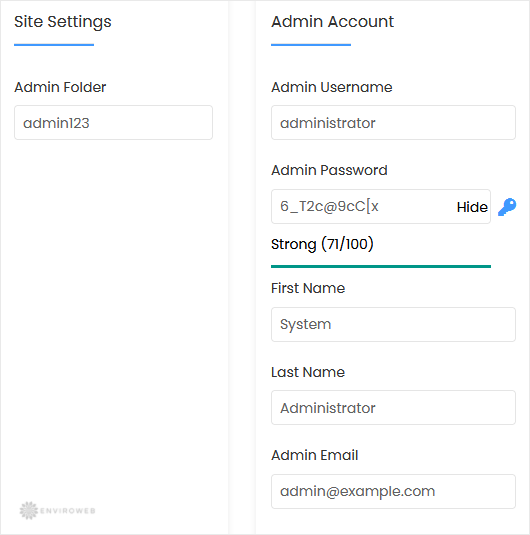
Note: Copy the admin username and password to Notepad. You will need those to access the admin area of your OctoberCMS website later.
Step 9. Choose Language: You can choose the language for your OctoberCMS installation. The default language is English.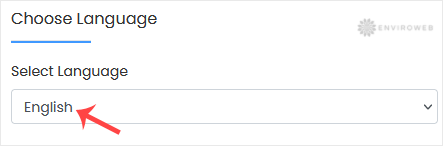
Step 10. Advanced Options: Leave this section as is unless you want to change the database name or enable automated backups. Note that frequent backups may consume a significant amount of disk space.
Finally, scroll down to the end of the page and click on Install.