
If you're planning on migrating a WordPress site to Enviroweb WordPress Hosting follow these easy steps.
Note: You must purchase an Enviroweb Hosting plan before you begin as you will need to initiate the migration from our control panel. (This can be done with ANY Enviroweb hosting plan, not just WordPress Hosting plans.)
####BEFORE YOU BEGIN, CREATE A BACKUP OF YOUR SITE#####
1. Login to your Enviroweb Hosting Panel from the Enviroweb dashboard.
2. Scroll down to Software and click WordPress Manager by Softaculous
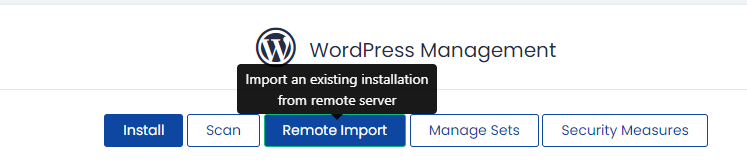
3. Click Remote Import
Destination Settings - (Enviroweb Hosting)
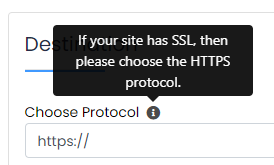
1. Choose Protocol - Your hosting plan comes with an SSL certificate and in most cases your protocol should be a "https://" or "https://www." however if you have removed the SSL then you will need to select a "http://" protocol.
2. Choose Domain - Select the domain name in your hosting plan that you wish to import the WordPress Site to.
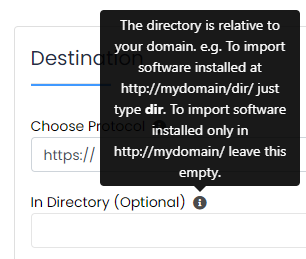
3. In Directory - If you wish to import the WordPress installation into a sub folder of your domain you can specify that here however it is optional.
Source Settings - (Your Current Hosting Provider)
If you are unsure of any of the requirements detailed in this section or unable to source the information yourself, please contact your current hosting provider for guidance as we do not have access to help you gather this information at Enviroweb.
1. Domain Name - Enter the domain name where the installation is to be imported. This should not include a protocol in this text box. e.g. mydomain.com not https://mydomain.com
2. Server Host (Optional) - This is to be used IF your domain name and server host are not the same. e.g. ftp.mydomain.com
3. Protocol - Select your protocol (FTP, FTPS, SFTP). The default is FTP, if you are unsure please contact your current hosting provider.
4. Port - The default port for FTP is 21 however this may vary between providers
5. Username - Enter your username for your selected protocol. If you are using cPanel, enter your cPanel username.
6. Password - Enter the password associated with your selected protocol's username. If you are using cPanel, enter your cPanel password
7. Path - Relative path to web accessible directory of user. e.g. /public_html
8. Database - Specify the name of the database where you want the installation to be imported to
Once you have filled out the required information, click Import (ensure that you have a recent backup stored with your current hosting provider to ensure there isn't the potential for loss of data.)
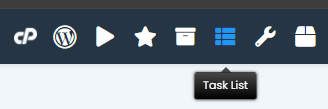
Once you have initiated the import, be sure to monitor its progress. To view the progress of your import, click on the Task List at the top right corner of the softaculous page.