

This guide explains how to create a snapshot of your VPS and how to restore your server to a previously saved snapshot. Snapshots are useful for saving the current state of your VPS before making changes or performing updates.
Disclaimer:
Restoring your VPS from a snapshot will completely overwrite the current state of your server, removing any data, software, or configuration changes made since the snapshot was taken. Enviroweb is not responsible for data loss, configuration issues, or system errors resulting from the use of snapshots. Please ensure that any important data is backed up separately before performing a restore.
***Note: Snapshots are a paid extra. If you didn't configure snapshots during the initial server creation please contact support to enable them. Charges apply***
To create a snapshot for your server, follow these steps:
1. Login to your client area dashboard and navigate to the VPS service you would like to perform the actions on.
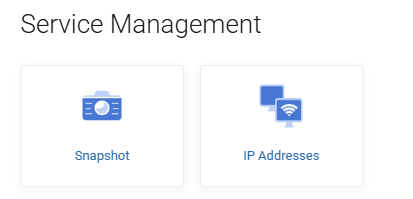
2. In the Service Management section of the control panel, select Snapshot
3. Click Create Snapshot

4. Enter the name for your snapshot (***Note: Only one snapshot may exist at a given time***)
5. Once confirmed, the snapshot creation process will begin. This may take a few minutes to complete
6. Once the snapshot creation process is complete, you will now be able to manage the snapshot (you may need to refresh the page first if it was just created)

To edit the description of the snapshot, click the Pen icon.
To restore the VPS to the point of the snapshot creation, click the Rollback Arrow icon.
To delete the snapshot, click the Trash icon
Restoring VPS to a Snapshot
To restore a VPS to a snapshot you have created, follow these steps:
1. Click the Rollback Arrow icon on the snapshot
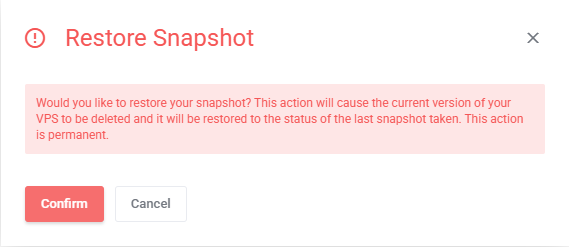
2. Click Confirm to begin the process (***Note: This process cannot be undone and is permanent. Any data lost cannot be recovered.***)
3. The restoration process may take a few minutes to fully complete